
This guide walks you through the key steps to configure the QC Approvals app, define an approval workflow using templates, apply approvals to pages, sign versions, and finally view approval reports.
Accessing the QC Approvals
You can access QC Approvals in several ways:
-
Page Overview: Open any Confluence page and select QC Approvals Page Overview from the page actions menu
-
My Approvals: Go to Apps → My Approvals to see all documents waiting for your approval and configure your personal settings
-
Site Admin: Go to Apps → Site Admin to manage site-wide settings (admin only)
Setting up page approvals
When you want to require approvals for a specific page, you'll set up an approval workflow.
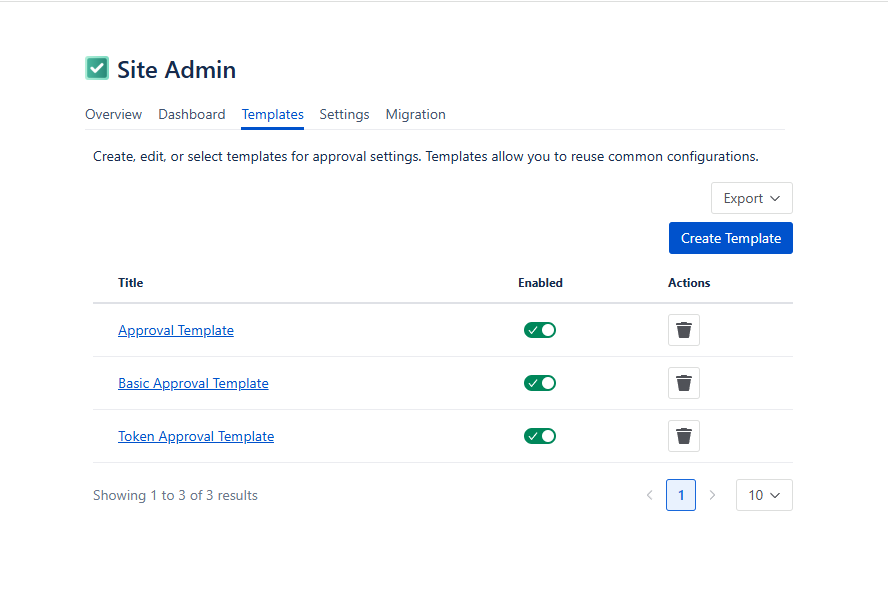
Create approval templates
To create an approval template:
-
Open the “Apps” menu in the left sidebar of Confluence and select “Site Admin”
-
Once you’re there, navigate to the “Templates” tab and click the “Create Template” button.
-
Here, you can add signers to the template, configure their approval meaning, signature and role, and set email notifications.
Enable approvals for a page
-
Open the Confluence page where you want to enable approvals
-
Click the three dots menu (“More actions”) at the top of the page and select QC Approvals Page Overview
-
In the Configuration tab, toggle Enable Page Approvals to On and select an approval template from the dropdown menu
-
Click Save.
Add signers to a page version
After enabling approvals, you'll add signers who need to approve each version:
-
In the QC Approvals Page Overview, go to the Version Control tab
-
Find the version you want to add signers to, add an alias and a reason for change, and change the type to Major
-
Once the version is marked as Major, the predefined signers from the template will be assigned to it.
Signing a page version
The QC Approvals offers two ways to sign a page version:
-
Using the QC Approvals Signature macro within the page
-
Using the “Sign document” button in the “My Approvals” table
Using the QC Approvals Signature macro
To sign a page version with the macro:
-
Open the page that you need to sign and look for the signature box
-
Click the “Sign” button, confirm your action by enabling the “I confirm I have…”, add your comment, and click “Sign”.
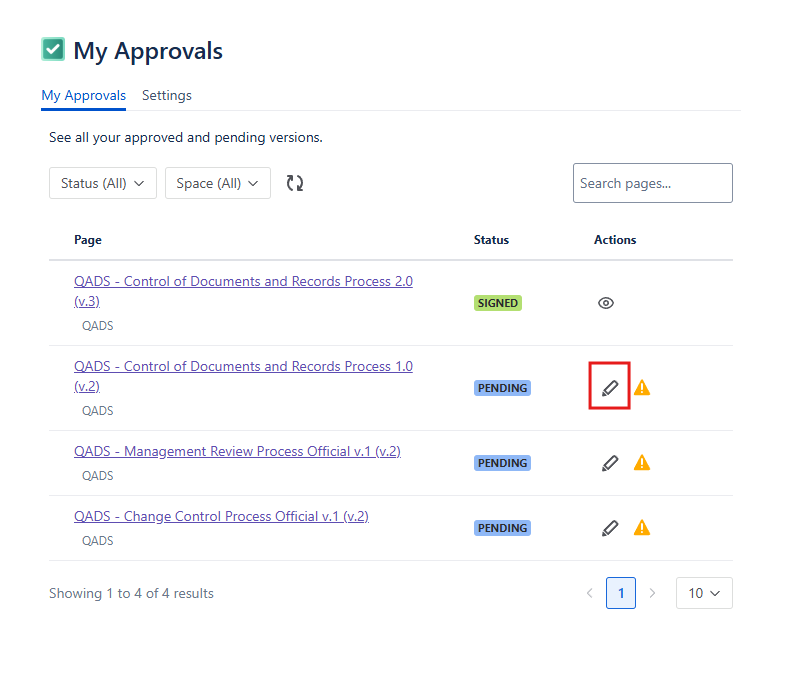
Using the My Approvals table
To sign a page version through the My Approvals table:
-
Open the “Apps” menu in the left sidebar of Confluence and select the “My Approvals” option
-
Find the version of the page you want to sign and click the “Sign document” button in the “Actions” column
-
Confirm your action by enabling the “I confirm I have…”, add your comment, and click “Sign”.
My Approvals table can be used to sign older versions of a page that need approval by simply finding the older version and following the steps above.
View and Manage Approvals
QC Approvals comes with multiple reporting and tracking views.
-
Version Control: This report is available on the page level, within the QC Approvals Page Overview, and shows all versions of the page with information about the signers and their approval status.

-
Site Overview: This is available on site level within the Apps → Site Admin menu. It displays all the pages within your Confluence instance that have been approved, and you can filter it based on Space, Status, and/or Signer.
-
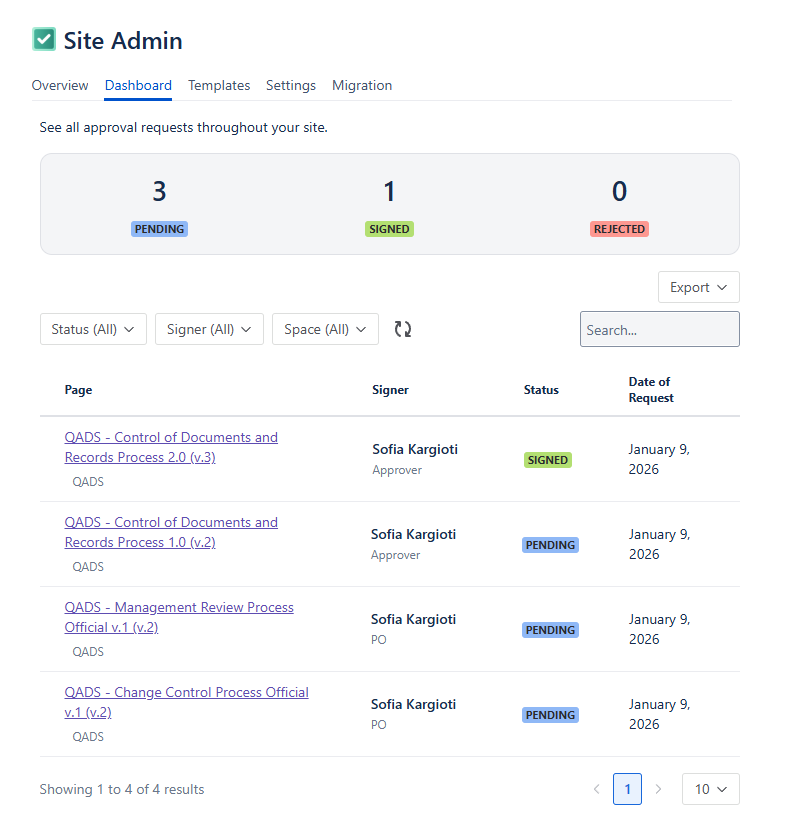
Dashboard: You can find the Dashboard table in the Apps → Site Admin menu. This report provides a high-level summary of all approval requests within your site. You can filter by Space, Status, and/or Signer.
-
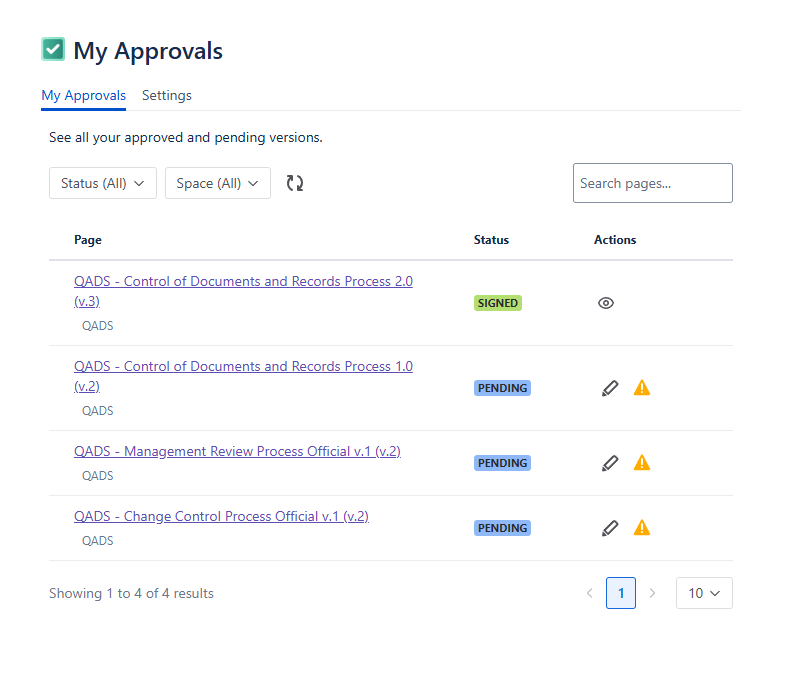
My Approvals: The report is available in the Apps → My Approvals menu. This shows all your pending and completed approval tasks, and can be filtered by Space and Status. You are also able to quickly access specific versions to sign or sign older versions.
-
Embedded Version Control Macro (read-only): You can insert the QC Approvals Version Control macro directly onto any page to show the approval data of the page.
Export your signature certificate
You can download a PDF certificate of your signature:
-
Click the three dots button in the QC Approvals Signature macro
-
Select “Export Certificate”
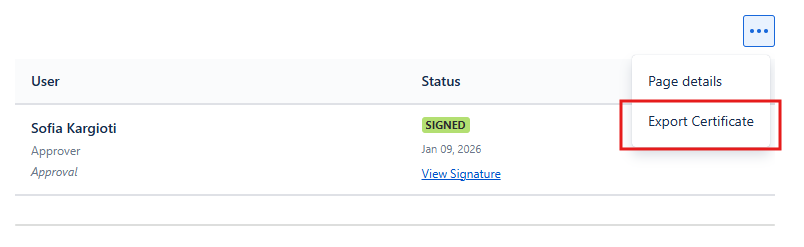
-
The certificate downloads as a PDF file containing:
-
Document information
-
Your signature details
-
Timestamp and verification information
-