
Read this guide to learn how to add an approval template to a page.
-
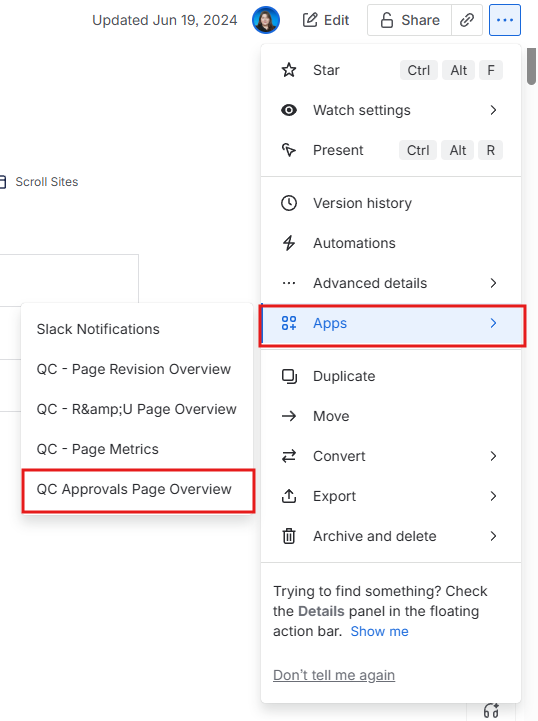
Go to your page and click the three dots (More actions) in the upper right corner.
-
Click on “Apps” and select “QC Approvals Page Overview”.

-
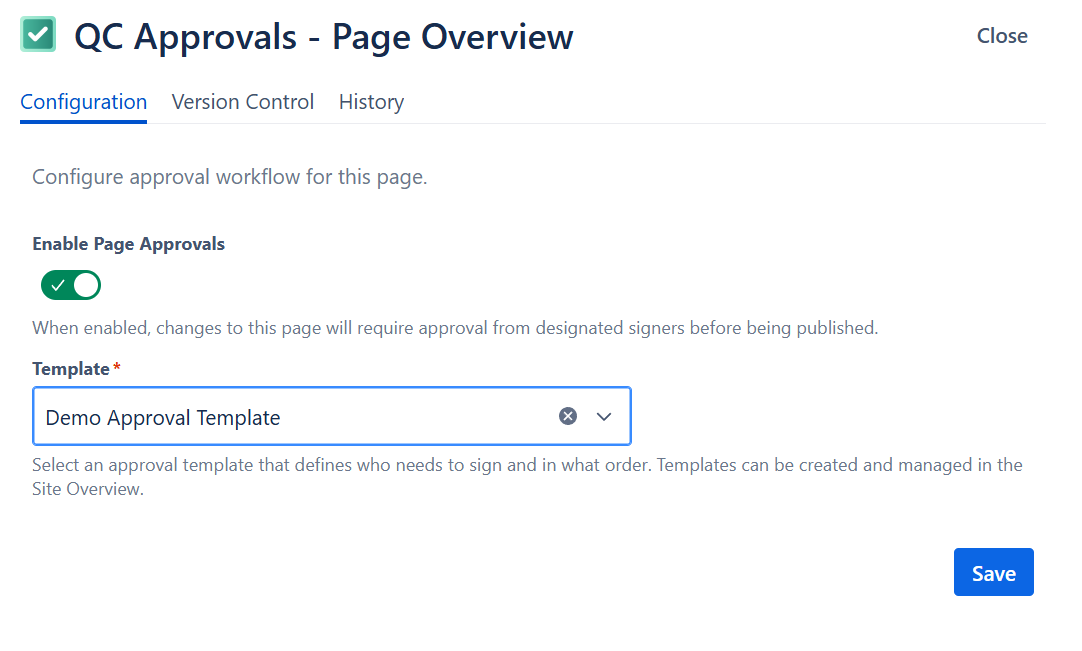
Enable page approvals by moving the toggle to "Enabled".
-
From the dropdown, select the template you want to use and click “Save”.
Once you’ve configured the approval template, you will also have to configure the page version for approvals. To do this:
-
Click the three dots (More actions) in the upper right corner.
-
Click on “Apps” and select “QC Approvals Page Overview”.
-
Navigate to the “Version Control” tab and locate the version that needs approval
-
Give this version a unique alias, a reason for change (optionally), and change its type to “Major”.
-
Now, the signers you’ve already defined in the template are assigned to the page.